
How to Inspect Chain Slings Before Every Lift
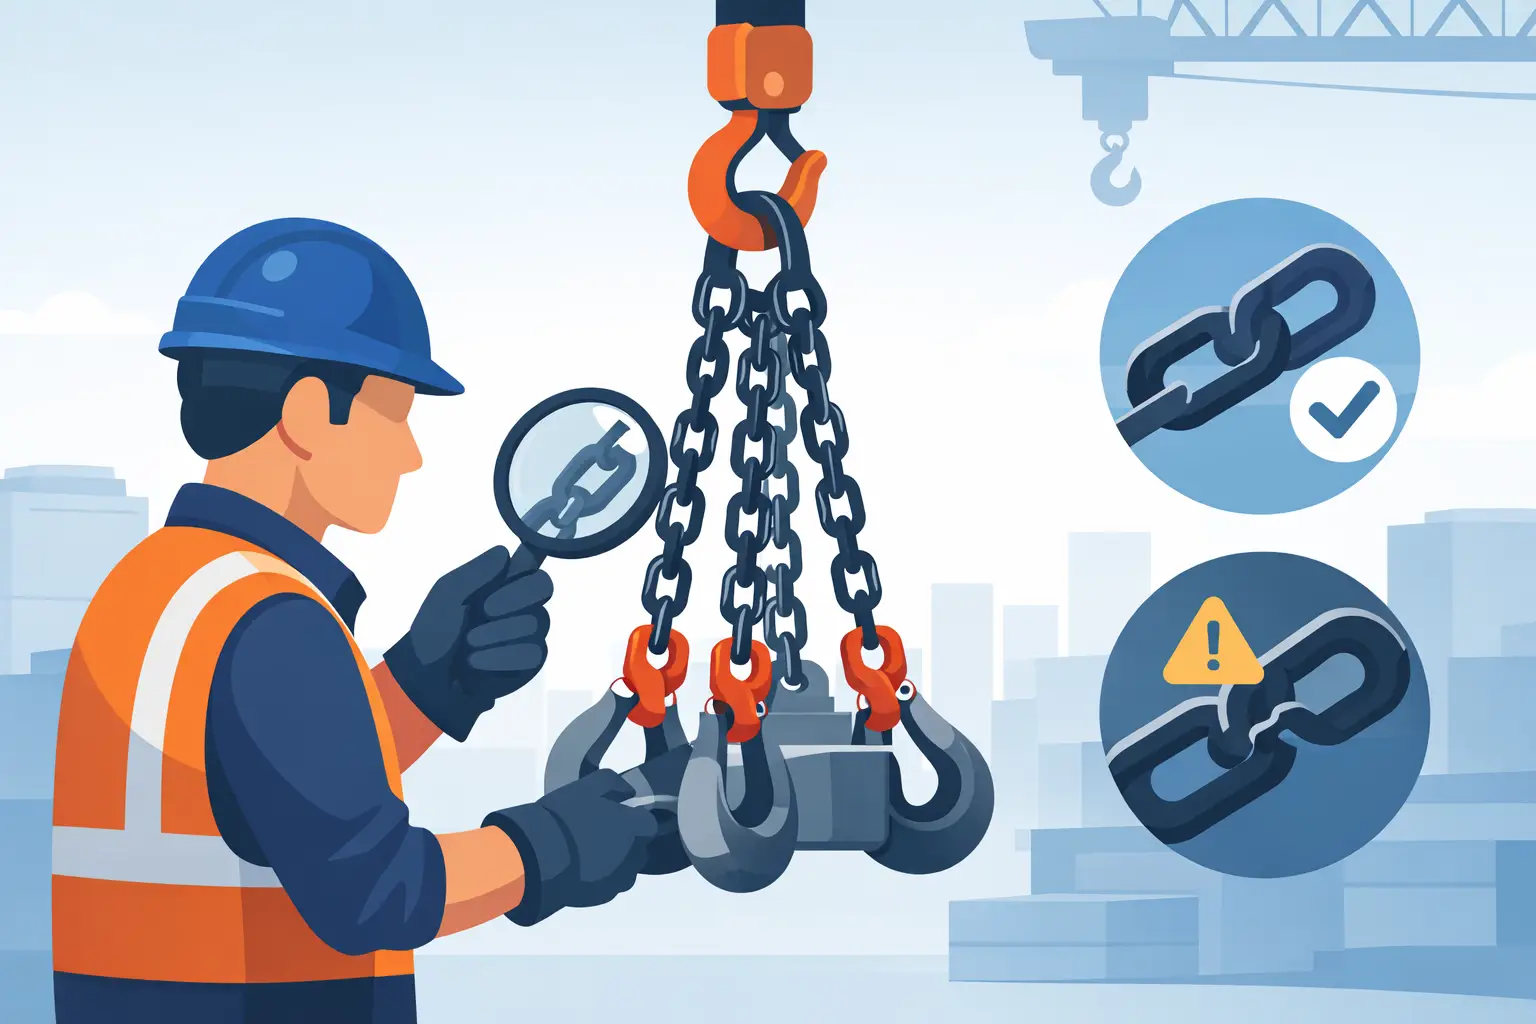
A chain sling can look ready for service and still contain damage that changes how it carries a load. A bent hook, stretched link, missing identification tag, or heat-damaged component can turn a routine pick into a dropped-load event. Knowing how to inspect chain slings gives rigging crews a repeatable way to catch those conditions before the load leaves the ground.
For oilfield, construction, marine, and heavy-equipment work, inspection is not paperwork performed after the fact. It is a control that protects personnel, equipment, schedules, and the working load limit of the rigging system. Every sling should be checked before use, after any suspected overload or shock load, and at the periodic intervals required by the applicable standard, manufacturer instructions, and site policy.
Why Chain Sling Inspection Starts Before the Lift
Alloy chain slings are built for demanding service, but they are not indestructible. Abrasion from sharp edges, side loading, corrosive fluids, welding exposure, improper storage, and repeated use at unfavorable sling angles all create risks. The damage may be concentrated in one link or one fitting while the remainder of the sling appears sound.
A pre-use inspection should be performed by the rigger or other designated user before each shift or lift. A formal periodic inspection should be completed by a qualified person and documented according to your inspection program. The periodic interval depends on the sling’s service conditions. Slings in severe service, including frequent use, abrasive environments, high heat, or corrosive exposure, require closer attention than slings used occasionally in controlled conditions.
Do not treat a chain sling as an isolated item. Its safe capacity depends on the complete assembly: master link, chain legs, shortening devices, hooks, connectors, identification tag, sling angle, and the load itself. The lowest-rated component sets the working load limit for the lift.
How to Inspect Chain Slings Step by Step
1. Isolate and clean the sling first
Place the sling on a clean, well-lit surface where every leg can be handled and viewed. Remove loose mud, grease, scale, or product buildup that could hide cracks, gouges, or deformation. Do not use aggressive cleaning methods that could damage the chain or remove required markings.
Lay out multi-leg slings fully. Check that legs are not crossed, twisted, knotted, or caught around fittings. A twist can change how the sling sits in the hook or on the load, creating side loading and uneven leg tension. If the sling was recently exposed to chemicals, seawater, extreme heat, or an impact event, escalate the inspection even when no obvious damage is visible.
2. Confirm identification, configuration, and WLL
Find the sling tag or other permanent identification. It should allow the user to identify the manufacturer, chain grade, number of legs, rated capacity, and other required sling information. Confirm that the marked working load limit matches the sling configuration being used.
A multi-leg sling does not have one universal capacity. Its rated capacity changes with the angle between the sling leg and the vertical. As the angle decreases, tension in each leg rises. Never assume a two-leg or four-leg assembly can be used at its vertical rating when it is spread across a wide load.
Remove the sling from service if its identification is missing or illegible. Do not estimate the chain grade, capacity, or original assembly rating based on appearance. An authorized, competent repair facility may be able to evaluate and re-identify the sling, but it must not return to lifting service until that process is complete.
3. Inspect every chain link for wear and damage
Run the chain slowly through gloved hands and inspect each link from all sides. Pay close attention to the bearing points, which are the areas that contact hooks, master links, load edges, or other hardware. Wear commonly develops there first.
Look for these conditions throughout every chain leg:
- Nicks, gouges, cuts, dents, or deep scoring
- Bent, twisted, stretched, flattened, or elongated links
- Cracks, especially near weld areas and high-contact points
- Excessive wear that reduces the link’s diameter
- Corrosion, pitting, or chemical attack
- Arc strikes, weld spatter, discoloration, or evidence of heat exposure
Any link that appears stretched, distorted, or damaged warrants removal from service. Do not straighten chain links, grind away defects, weld a damaged link, or attempt a field repair. Heat and unauthorized modification can alter the properties of alloy chain and invalidate the sling’s rating.
Use the manufacturer’s discard criteria and your company’s inspection procedure when measuring chain diameter, link length, or other dimensions. Visual inspection finds many defects, but measurements are necessary when wear or elongation is suspected. Comparing a questionable area with an unworn section of the same sling can help identify changes, but it does not replace the specified measurement limits.
4. Check hooks, master links, and all fittings
The fittings often see the highest concentrated forces in a sling assembly. Inspect the master link, master link assembly, coupling links, shortening hooks, sling hooks, latch components, and any other attachment hardware.
Hooks must not be bent, twisted, cracked, excessively worn, or opened beyond the manufacturer’s allowable throat opening. Verify that hook latches are present when required and that they close properly. A latch is a retaining device, not a load-bearing component, but a damaged or inoperative latch can allow a sling leg or load connection to disengage during handling.
Check that hooks are loaded in the bowl, not on the tip. Look for signs that a hook has been side loaded, including a twisted body or uneven throat opening. Also inspect the hook connection point for wear. A hook may be in good condition while the connecting link or coupling is worn beyond limits.
Master links and subassemblies should sit freely in the crane hook saddle. If the master link is forced onto the hook point, pinched, or crowded by multiple components, the connection is not correct. Select properly sized rigging hardware rather than forcing an oversized master link into an undersized hook.
5. Verify the sling is suitable for the actual pick
A sling can pass physical inspection and still be unsuitable for the planned lift. Confirm the load weight, center of gravity, pick points, sling angle, hitch type, and edge conditions. Check that the chain will not contact sharp corners without suitable protection and that no leg will be dragged, kinked, or loaded over an edge.
For adjustable or shortening assemblies, ensure the chain is seated only in the designated shortening device. Do not shorten a chain sling by tying knots, wrapping chain around a hook, or placing links over a hook point. These practices can reduce capacity and damage the sling.
Before tensioning the rigging, ensure all personnel are clear and the load path is controlled. Raise the load slightly first to verify balance, engagement, and leg tension. Stop immediately if a hook shifts, a leg tightens unevenly, or the load does not remain stable.
6. Tag out damaged chain slings immediately
If an inspection identifies a reject condition, remove the sling from service at once. Tag it clearly so it cannot be returned to the rigging rack by mistake, then place it in a controlled quarantine area. A damaged sling left on the floor or mixed with serviceable gear is an invitation for reuse under pressure.
The decision to repair, rework, or destroy the sling should be made through an approved process. Only the sling manufacturer or an authorized qualified repair provider should perform repairs or replacement of components. After repair, the sling must be inspected, proof tested when required, and re-identified before it is released for use.
Set a Periodic Inspection Program That Matches Service
Pre-use checks catch obvious issues, but a documented periodic inspection program provides traceability and consistency. Assign a competent person to examine each sling at a frequency appropriate to normal, severe, or special service. The inspection record should identify the sling, date, inspector, observed condition, disposition, and any corrective action taken.
For operations with numerous chain assemblies, use a clear identification system that connects each sling to its inspection record. This can include a unique sling number, tag number, or asset-control system. Keep current certificates, manufacturer specifications, and inspection history available to rigging supervisors and HSE personnel.
Field conditions should drive inspection frequency. A chain sling used indoors for occasional maintenance will not experience the same deterioration as one exposed to salt spray, drilling fluids, abrasive pipe handling, or continuous heavy lifts. When service conditions change, the inspection schedule should change with them.
Store Chain Slings to Protect Their Service Life
Inspection begins before the sling reaches the hook. Store chain slings off the ground on designated racks where they are protected from standing water, corrosive contaminants, vehicle traffic, and welding operations. Keep them separated from damaged rigging and avoid piling heavy hardware on top of chain assemblies.
After use, clean the sling as needed and check for damage caused during the lift. Report shock loading, dropped loads, exposure to heat, chemical contact, or any event that may have overloaded the assembly. A fast report gives the inspection team a chance to evaluate the sling before the next crew uses it.
Reliable lifting starts with equipment that has a known rating, a visible identity, and a condition that has been checked by the people responsible for the lift. When there is doubt about a chain sling, remove it from service and replace it with a correctly rated, certified assembly. The cost of a replacement is small compared with the consequences of an uncontrolled load.






One thought on “How to Inspect Chain Slings Before Every Lift”
Pingback: What Is a Master Link and How Is It Used? - Pro Oil Field Supply